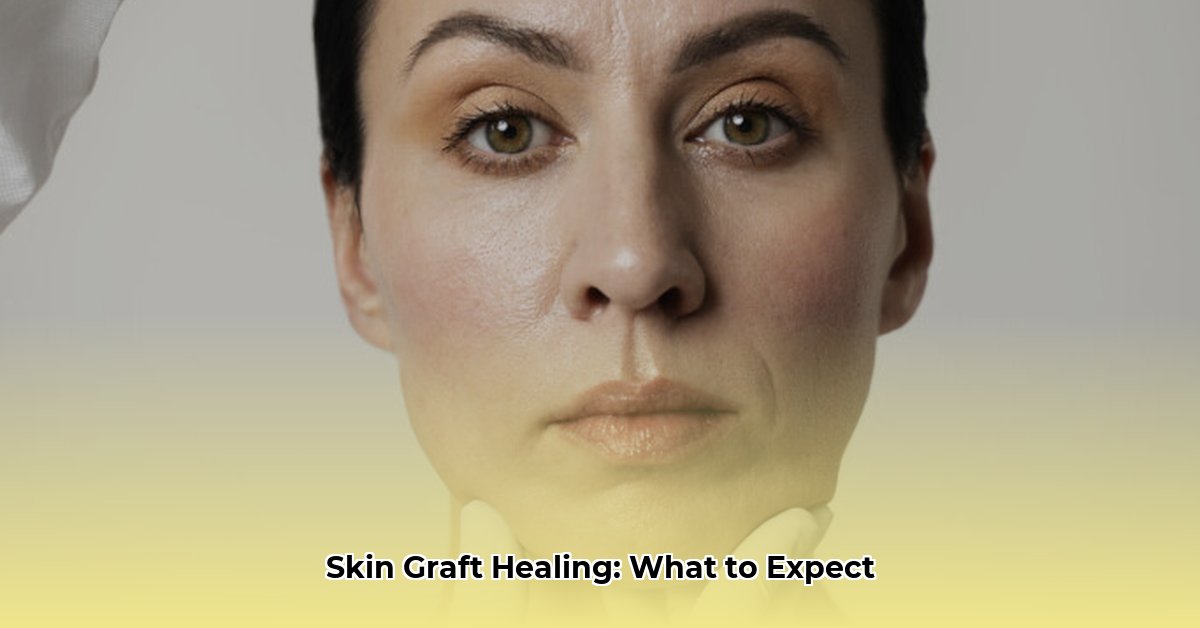
A skin graft is a surgical procedure where healthy skin is taken from one area of your body (the donor site) and transplanted to cover a wound or injured area (the recipient site). This guide provides a visual walkthrough of the typical healing process. Remember, everyone heals differently, so this is a general roadmap. Your journey may vary. If you have any concerns, always consult your healthcare provider.
Week-by-Week Visual Guide
Week 1: The “New Sod” Phase
Your new skin graft will be red, slightly swollen (edema), and may have some fluid drainage. This is normal. The graft is establishing connections with its new surroundings.
[Insert image: Freshly grafted area, showing redness and slight swelling.]
Week 2: Putting Down Roots
Swelling decreases and the graft begins integrating with the surrounding skin, looking less like a separate patch.
[Insert image: Skin graft after two weeks, showing reduced swelling and integration.]
Week 3: Building a Support System
Tiny blood vessels (capillaries) develop, delivering nutrients and oxygen to the graft. The graft becomes more firmly attached and appears healthier.
[Insert image: Skin graft at week three, showing increased integration and new blood vessels.]
Week 4: Blending the Colors
Discoloration from the surgery begins to fade as the graft blends with the surrounding skin.
[Insert image: Skin graft at week four, with reduced redness and improved color match.]
Weeks 5-8: The Refinement Phase
The graft matures gradually. Texture and color continue improving, resembling your natural skin. Complete healing and final appearance may take several months.
[Insert image: Skin graft around week six, showing improvement in texture and color.]
Beyond Week 8: Long-Term Protection
Protecting your graft from the sun is crucial. Sunscreen is essential to prevent discoloration and scarring.
[Insert image: Healed skin graft with minimal scarring, illustrating sun protection benefits.]
Stage-by-Stage Healing Process
Stage 1: Immediately After Surgery (0-72 Hours)
The graft is red, swollen, and covered with a protective dressing. Sutures or staples hold it in place. Focus is on infection prevention and ensuring blood supply.
Monitor for rejection (color changes, increased pain).
Early Growth
Graft settling, donor site scabbing
Gently cleanse, avoid rubbing or scratching.
Strengthening
Graft blending, itching/numbness
Moisturize as directed, avoid scratching.
Maturation
Increased flexibility, fading scar
Sun protection crucial. Consider scar massage (as directed).
Lifestyle and Healing
Hydration: Drink plenty of water.
Nutrition: Eat protein-rich foods.
Smoking Cessation: Quitting significantly aids healing.
Stress Management: Explore relaxation techniques.
Important Reminders
This guide is for informational purposes only and does not replace professional medical advice.
Consult your healthcare provider for any concerns.
Healing varies; these are general guidelines.
This enhanced guide provides a more organized and visually driven approach to understanding skin graft healing. The streamlined content ensures reader engagement and minimizes redundancy. Remember, staying informed and proactive in your care is vital for a successful recovery.
I am a writer who loves renewable energy, with a focus on sustainable living, renewable energy, and eco-friendly innovation. With a passion for environmental awareness and a desire to explore the latest trends in green technology, corporate sustainability, and climate action. Through in-depth storytelling