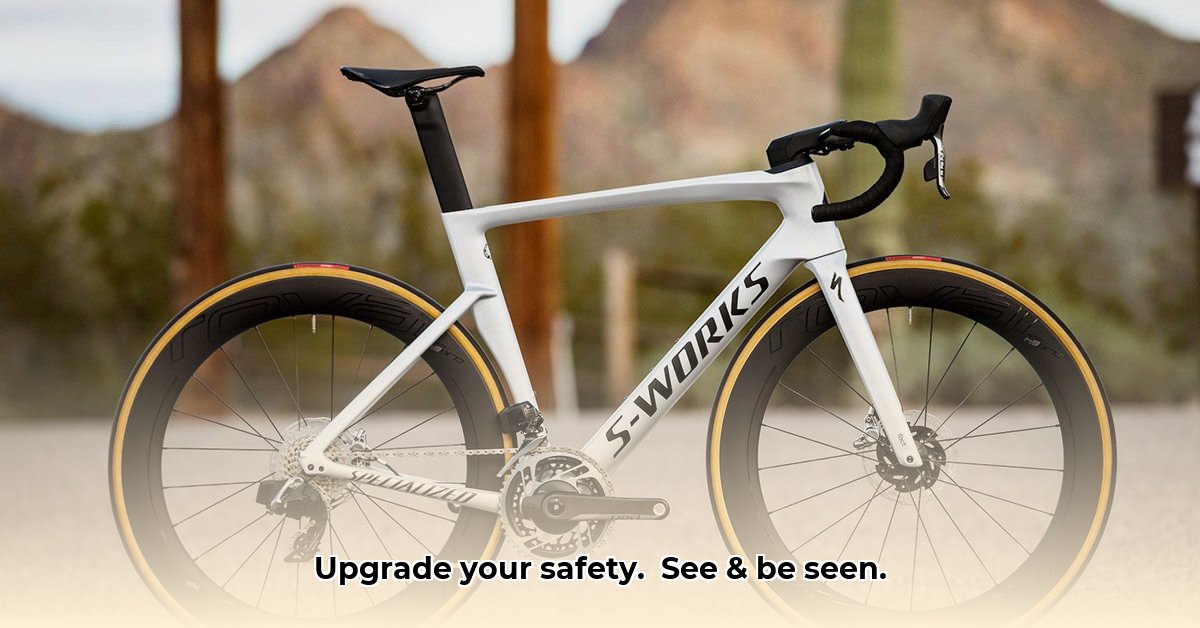
Worried about getting hit while biking? Bike turn signals offer enhanced visibility, letting drivers know your intentions and significantly increasing your safety on the road. This comprehensive guide will show you how to select, install, and maintain turn signals, helping you avoid accidents and enjoy safer cycling. For added head protection, consider a quality helmet like those from Bell Racing Helmets.
Enhanced Safety with Bike Turn Signals and Visibility
Cycling can be a great way to get around, but sharing the road with cars can be risky. Having a way to clearly signal your turns and intentions is crucial. Bike turn signals are a simple yet effective way to boost your safety on the road. These devices allow you to communicate clearly, making you more predictable to drivers. Clear communication reduces the risk of accidents and promotes a safer environment for everyone.
The Vital Role of Bike Turn Signals
Bike turn signals are the cyclist’s version of car turn signals, increasing visibility and safety. Many models offer extra features like brake lights and a horn, providing a comprehensive safety package. These signals drastically reduce the risk of accidents by improving visibility and helping drivers anticipate your movements.
Exploring Different Types of Bike Turn Signals
The market offers a variety of bike turn signals, each with unique advantages. Here’s a breakdown of the main types to help you make the best decision:
Clip-on Signals: These are easy to install and remove, offering the flexibility to switch between bikes or remove them when not needed. However, they may be less weather-resistant and prone to getting bumped.
Integrated Units: These are built into your bike’s frame for a sleek, streamlined look. They offer longer battery life and better weatherproofing, ideal for daily use. However, they can be more complicated to install.
Smart Signals: These advanced models connect to a smartphone app, offering features like GPS tracking, fall detection, and customizable lighting patterns. They come with a higher price tag.
Turn Signal Gloves: Gloves with integrated turn signals offer a unique and visible way to signal your intentions, especially useful for hand signals.
Choosing the Perfect Bike Turn Signals
Choosing the right bike turn signals depends on your riding style, budget, and technical skills. Consider these factors:
Brightness: Ensure the lights are bright enough to be seen in daylight. Look for higher lumens (a measure of light intensity) for better visibility. A minimum of 100 lumens is recommended for daytime use.
Battery Life: Choose signals with long battery life and rechargeable options to avoid frequent replacements. Longer-lasting battery life means fewer interruptions and more consistent performance.
Ease of Use: Look for intuitive controls that are easy to reach and operate while riding, even with gloves on. Wireless remote controls are a convenient option.
Durability: Opt for signals that can withstand bumps, rain, and general wear and tear. Check for water resistance ratings (IPX4 or higher) and durable construction materials like aluminum alloy.
Mounting Options: Ensure the signals are compatible with your bike’s frame or seat post and that the mounting system is secure and stable. Some signals offer multiple mounting options for added flexibility.
Here’s a quick comparison:
Feature
Clip-on Signals
Integrated Units
Smart Signals
Turn Signal Gloves
Installation
Super Easy
A bit trickier
Varies
N/A
Looks
Alright
Sleek & Stylish
Usually Stylish
Casual
Battery Life
Moderate
Long
Depends on features
Moderate
Price
Budget-Friendly
Mid-range to High
High
Mid-Range
Durability
Moderate
High
Generally High
Moderate
Weatherproof
Low
High
Moderate
Low
Installing Your Bike Turn Signals
While most signals come with instructions, here’s a general idea of the installation process:
Review the Manual: Each model is different, so familiarize yourself with its specific features.
Charge the Batteries: Fully charge the batteries before installation to ensure optimal performance.
Attach the Control Unit: Secure the control unit to your handlebars using the provided clamp or strap. Ensure it’s within easy reach while riding.
Mount the Lights: Attach the lights to your bike frame, typically at the rear and sides, ensuring they are firmly in place and visible from all angles.
Connect the Wires: If the signals have wired connections, carefully route the wires along the frame, securing them with zip ties or electrical tape to prevent snagging or damage.
Test: Before riding, verify that the lights function correctly and the controls respond as expected. Test the turn signals, brake lights, and horn (if applicable).
Prioritizing Safety
Bike turn signals are a great safety upgrade, but they are not a magic solution. They’re a tool to help drivers see you, but they won’t replace good cycling habits. Always be aware of your surroundings, obey traffic laws, and ride defensively. Regularly check your signals to ensure they are functioning correctly, and replace batteries as needed.
The Future of Bike Turn Signals
The technology behind bike turn signals is constantly improving. Expect to see brighter lights, longer-lasting batteries, and more seamless integration with other cycling tech in the future. Advanced features and smarter connectivity are on the way, further improving safety. Some potential advancements include:
Automatic Turn Signal Activation: Signals that automatically activate based on lean angle or GPS data.
Integration with Smart Helmets: Turn signals built directly into smart helmets for enhanced visibility and convenience.
Improved Battery Technology: Solid-state batteries that offer longer life and faster charging times.
Enhanced Weatherproofing: Turn signals that can withstand even the most extreme weather conditions.
Investing in bike turn signals can significantly improve your safety and peace of mind while cycling, enhancing your visibility and making both you and drivers feel safer.
How to Choose the Best Bike Turn Signal Lights for Increased Safety and Visibility
Various turn signal types exist, each with pros and cons.
Consider brightness, battery life, mounting, and water resistance.
Regulations vary; check local laws before purchase.
Prioritize ease of use and reliable functionality.
Assessing Your Needs
Before diving into specific models, assess your individual needs by considering:
Riding Environment: City streets, busy highways, or off-road trails? Your lighting requirements will change depending on your environment. For example, city riding may require brighter lights to cut through ambient lighting.
Budget: Set a realistic budget before you start shopping. Prices range from budget-friendly options to high-end smart systems.
Technical Proficiency: Consider your comfort level with installing and using different systems. Some systems require more technical knowledge than others.
Integration: Are you interested in lights that integrate with a cycling app or smart helmet? This can offer additional features and convenience.
Exploring Types of Bike Turn Signal Lights
Several products are available. Here’s a rundown of the most common types:
Handlebar-Mounted: These are easy to install and control. They’re a good choice for most riders.
Helmet-Mounted: They provide excellent visibility, but are potentially more expensive. Check for compatibility with your helmet.
Vest-Integrated: They offer considerable visibility, but can sacrifice aerodynamics. Consider the fit and comfort of the vest.
Rear-Mounted: These are crucial for alerting drivers behind you, and often combined with a brake light. Make sure the light is visible from a distance.
Wireless Remote Systems: These allow you to control your turn signals without taking your hands off the handlebars.
Self-Canceling Signals: Some advanced systems automatically turn off the signal after a set time or distance.
Here’s a simple comparison table:
Type
Pros
Cons
Handlebar
Easy to use and install, affordable options
Limited visibility from the rear
Helmet
Excellent all-around visibility
Can be expensive, may affect helmet fit
Vest
High visibility, especially at night
Less aerodynamic, may feel bulky
Rear-Mounted
Essential for rear visibility
Requires separate controls, limited front visibility
Wireless Remote
Convenient, keeps hands on handlebars
Requires batteries, potential for interference
Self-Canceling
Hands-free operation
May not be suitable for all situations
Key Features to Prioritize
Brightness (Lumens): Higher lumens equal better visibility, especially at night or in low-light conditions. Aim for at least 200 lumens for daytime visibility and 50-100 for night.
Battery Life: Look for lights with long battery life to reduce interruptions. Some lights offer impressive 70+ hour runtimes; low-cost options may struggle to reach 4 hours. Consider models with replaceable batteries for extended use.
Water Resistance: Choose a high IPX rating (e.g., IPX5 or higher) for reliable performance in wet weather. This protects the lights from rain, splashes, and even temporary submersion.
I am a writer who loves renewable energy, with a focus on sustainable living, renewable energy, and eco-friendly innovation. With a passion for environmental awareness and a desire to explore the latest trends in green technology, corporate sustainability, and climate action. Through in-depth storytelling