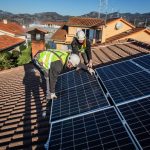
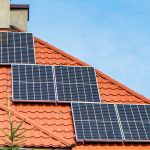
Want a tiny house that runs entirely on solar power? This guide will show you exactly how to do it. We’ll cover everything from planning your solar setup to installing it, ensuring it works reliably for years. To learn more about solar panel energy production, check out this helpful resource: solar panel output. Let’s get started and make your solar-powered tiny house dream a reality!
Solar Energy for Tiny Houses: Your Guide to Off-Grid Power and Renewable Energy Solutions
Dreaming of a tiny home powered entirely by the sun? It’s totally doable! Going off-grid with solar energy is a fantastic way to live more sustainably, save money on electricity bills, and even gain a little independence from traditional utility grids. This guide breaks down everything you need to know, from figuring out your energy needs to actually getting the system up and running, offering sustainable renewable energy solutions for your tiny home.
Calculating Your Energy Needs: A Detailed Guide to Power Consumption
Before diving into solar panels, accurately calculating your energy needs is crucial. Tiny homes generally require less electricity than standard houses, making solar a viable option. Start by listing every appliance and electronic device you plan to use appliances, electronics, and lighting. Include the wattage of each item and estimate how many hours per day you’ll use it.
For lighting, prioritize LEDs; they consume significantly less energy than traditional incandescent bulbs. When selecting appliances, consider energy-efficient models. A compact refrigerator consumes far less power than a full-size one. The more detailed your inventory, the more accurate your energy needs estimate will be.
To calculate your daily energy consumption, multiply the wattage of each device by its usage hours per day. Then, sum the energy consumption of all devices to determine your total daily energy needs in watt-hours (Wh). For example:
| Item | Watts | Usage (hours/day) | Watt-hours/day |
|---|---|---|---|
| LED Lights (x6) | 5 | 4 | 120 |
| Laptop | 60 | 6 | 360 |
| Mini-Fridge | 75 | 24 | 1800 |
| Phone Charger | 5 | 3 | 15 |
| Total | 2295 |
This calculation shows a daily energy need of 2295 Wh. Factoring in potential inefficiencies and future needs, it’s wise to add a buffer of about 20%. This example would require a system designed to produce closer to 2754 Wh daily.
Choosing Your Solar Setup: Balancing Space and Power Needs
Space is a premium in a tiny house, and the location of your solar panels significantly impacts their effectiveness.
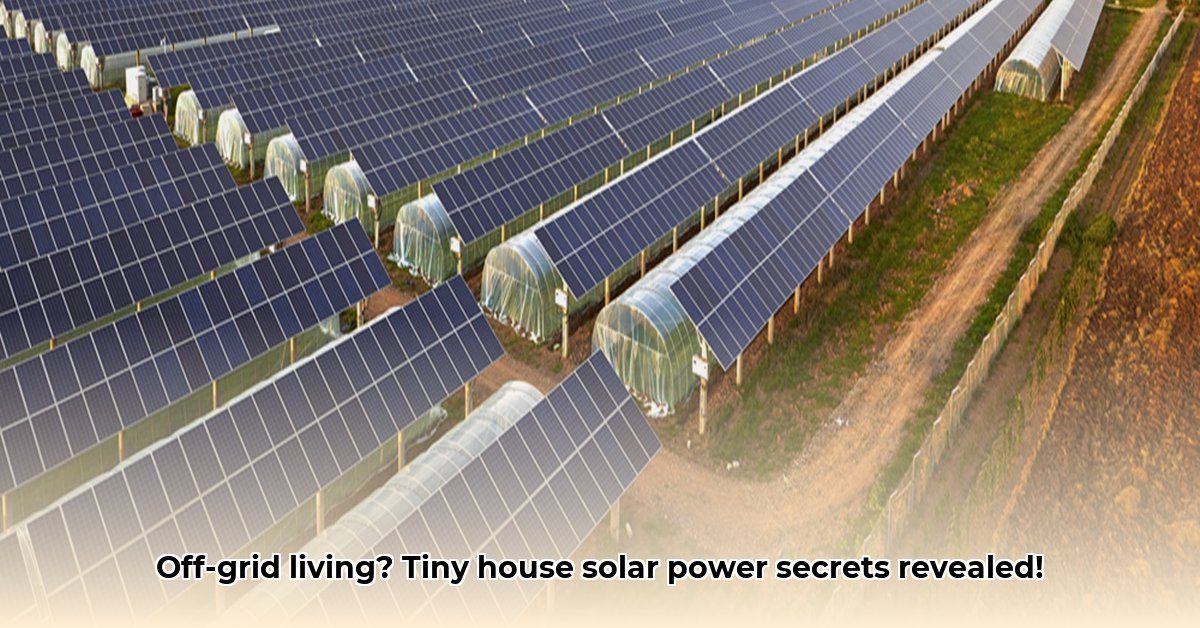
- Roof-Mounted Systems: These are aesthetically pleasing and utilize otherwise unused space. However, roof space is limited, potentially restricting the number of panels you can install. Also, consider roof orientation and shading from trees or other structures, impacting solar panel efficiency.
- Ground-Mounted Systems: These require additional land but offer greater flexibility. You can install more panels for increased power generation and orient them for optimal sun exposure. Ground-mounted systems are also easier to clean and maintain.
Consider a hybrid approach if space constraints are a concern. Maximize roof space with panels and supplement with a small ground-mounted array.
Solar System Types: Finding the Right Balance of Complexity and Customization
Choosing the right type of solar system involves balancing simplicity with scalability.
- All-in-One Power Stations: These are pre-packaged systems containing batteries, charge controller, and inverter in a single unit. They are easy to set up and ideal for beginners. However, they offer limited expandability and customization. If your energy needs increase, you may need to replace the entire unit.
- Traditional Modular Systems: These involve purchasing individual components separately and wiring them together. This approach offers maximum flexibility and allows you to customize the system to your exact needs. You can easily upgrade components or add more panels as your energy consumption evolves. However, this requires a deeper understanding of solar technology and electrical wiring.
- Integrated Systems: These combine the benefits of both approaches. Major components are separate but connect using simplified plug-and-play connections. This offers a balance of flexibility and ease of installation.
Essential Components: Understanding the Core of Your Solar System
- Solar Panels: These convert sunlight into electricity. Choose high-efficiency panels to maximize power generation within a limited space. Monocrystalline panels are generally more efficient than polycrystalline panels.
- Charge Controller: It regulates the flow of electricity from the panels to the batteries, preventing overcharging and extending battery life. MPPT (Maximum Power Point Tracking) charge controllers are more efficient than PWM (Pulse Width Modulation) controllers, especially in colder climates or partially shaded conditions.
- Batteries: These store the energy generated by your solar panels. Lithium-ion batteries are the preferred choice due to their high energy density, long lifespan, and efficient charging capabilities. Lead-acid batteries are a more affordable option but have a shorter lifespan and require more maintenance.
- Inverter: This converts direct current (DC) electricity from the batteries into alternating current (AC) electricity that powers most household appliances. Choose an inverter with sufficient capacity to handle the peak power demand of all your appliances.
- Wiring and Connections: Use appropriately sized wiring to handle the current flow. Ensure all connections are secure and weatherproof to prevent energy loss and potential hazards.
Installation: A Hands-On Guide (with Safety First)
Installation can be a DIY project for experienced individuals. However, for safety and optimal performance, consider hiring a qualified solar installer, especially for electrical wiring.
- Planning and Permits: Determine the size of your system and obtain necessary permits from your local authorities.
- Mounting System Installation: Install a sturdy mounting system for your solar panels, ensuring it can withstand wind and weather conditions.
- Panel Wiring: Connect the solar panels in series or parallel, according to your system design. Follow the manufacturer’s guidelines for proper wiring techniques.
- Charge Controller Setup: Connect the solar panels to the charge controller, ensuring the correct polarity.
- Battery Bank Connection: Connect the batteries in series or parallel to achieve the desired voltage and capacity.
- Inverter Hookup: Connect the inverter to the battery bank and your home’s electrical panel.
- System Testing: Thoroughly test your system to ensure all components are functioning correctly.
Efficiency Boost: Optimizing Performance for Maximum Renewable Energy
Maximize your solar system’s efficiency with these tips:
- Panel Orientation: Orient your solar panels towards the south (in the northern hemisphere) for optimal sun exposure. Adjust the tilt angle according to the season to maximize energy capture.
- Shading Avoidance: Minimize shading from trees, buildings, or other obstructions. Trim trees or relocate panels if necessary.
- Regular Cleaning: Clean your solar panels regularly to remove dirt, dust, and debris that can reduce their efficiency.
- Energy-Efficient Appliances: Use energy-efficient appliances and lighting to reduce your overall energy consumption.
- Monitor Performance: Regularly monitor your system’s performance to identify and address any issues.
Understanding the Investment: Costs and Long-Term Savings
The initial cost of a solar system can be significant, ranging from \$5,000 to \$15,000 for a tiny house, depending on system size and components. However, consider the long-term savings on electricity bills. In many cases, a solar system can pay for itself within 5-10 years. Also, explore available government rebates, tax credits, and incentives that can significantly reduce the upfront cost.
Troubleshooting: Preparing for Potential Issues to Maintain Energy Reliability
Even with a well-designed and installed system, problems can arise. Here’s a table to help:
| Component | Potential Problems | Mitigation Strategies | Consequences of Failure |
|---|---|---|---|
| Solar Panels | Degradation, Shading | Quality panels, regular cleaning, optimized placement | Reduced power output |
| Batteries | Capacity loss, premature failure | Proper charging, temperature control, monitoring | Power outages |
| Inverter | Malfunction, inefficiency | Quality inverter, backup system | Power outages |
| Charge Controller | Failure, overcharging | Quality controller, regular checks | Battery damage |
| Wiring/Connections | Loose connections, shorts | Professional install, inspections | Fire hazard, power outages |
| Mounting System | Structural failure | Sturdy design, professional install | Panel damage |
System Size Calculation Example:
Let’s revisit our example from earlier, needing 2754 Wh per day.
- Panel Wattage: Assuming you choose 300-watt solar panels.
- Sunlight Hours: Estimate average daily sunlight hours (e.g., 5 hours).
- Panels Needed: (2754 Wh / day) / (5 hours/day * 300 watts/panel) = ~1.84 panels.
You’d need approximately 2 x 300W panels to meet your needs, but always round up.
Going off-grid with solar power in your
- How To Make Free Electricity To Run Your Home With Renewable Sources - February 12, 2026
- How to Produce Free Energy for Your Home - February 11, 2026
- How to Generate Electricity for Free at Home - February 10, 2026
